3rd part of the series | Writing up our frontend (client) for our whitelist system

Shiawase • 2025-2-10 • 7 minutes
- If you haven’t read the introduction of this guide, you can check it out here
- If you haven’t read the previous part, you can check it out here
- You can check out the repository for this guide here
Introduction
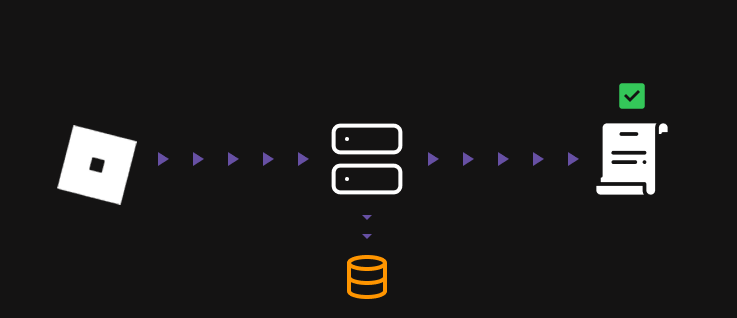
In this part of the guide, we will be setting up our script (front-end) for our whitelist system.
This does not need much of an introduction, it will also be relatively short compared to the previous section.
Acknowledgements
- For the remaining of this guide, I will be using the term “script” to refer to the front-end of our whitelist system.
- Concerning the script-server connection, you will have to keep your local development server running for the script to properly work.
| Some executors may NOT support connections to local servers, so you may have to use a tunneling service like ngrok to expose your local server to the internet. (You may want to ask your executor’s development team for more information on this).
- When it comes to obfuscating your script, the service to use is entirely up to you. But I HEAVILY recommend using Luraph for obfuscation, as we are also going to be using some of it’s macros in our script.
- A good practice when writing scripts you plan on obfuscating is using the Luraph SDK to avoid potential issues in the obfuscation process (for the reamining of the guide we assume the SDK has been used at the top-most level of the script).
- The client is not secured yet as we are writing the barebones of the whitelist system. We will be adding security measures in the next part of the guide.
Setting up our environment
For the script, we will be relying on 1 main function, which is:
request| Could be located under an exploit-specific global or thehttpglobal table in your exploit.- With the majority of executors following the UNC, you shouldn’t worry much about writing ternary statements to check for the function’s existence.
As for parsing the server response, we will stick to using the JSONDecode method provided by the HttpService service.
To get started, create a new script in your src/client directory, we will call it client.luau, then we can start writing the following:
Local declarations:
We will declare the necessary variables and functions we will be using in our script.
-- The LPH_CRASH function is a macro provided by Luraph | You don't have to use it like me here.
local key = getgenv().whitelistKey or LPH_CRASH()
local HttpService = game:GetService("HttpService")
-- Feel free to add more functions as needed
local request = (http and http.request) or request or LPH_CRASH()
Auth call:
We will be making a POST request to the server’s whitelist endpoint, sending the key as the body of the request.
local response = request({
    Url = "http://localhost:3000/whitelist",
    Method = "POST", -- The POST method corresponds to the server's whitelist endpoint
    Body = HttpService:JSONEncode({
        whitelistkey = key
    }),
    Headers = {
        ["Content-Type"] = "application/json"
    }
})
Parsing the response:
We will be parsing the response from the server, checking if the server is healthy (status code is 200), then parsing the body of the response.
if response.StatusCode == 200 then
    local body = HttpService:JSONDecode(response.Body)
    if body.valid then
        print("Whitelisted")
    else
        print("Not whitelisted")
        LPH_CRASH()
    end
else
    print("Server not responding")
    LPH_CRASH()
end
Final result
Here is the final result of our script:
-- getgenv().whitelistKey = "myexamplekey"
local key = getgenv().whitelistKey or LPH_CRASH()
local HttpService = game:GetService("HttpService")
local request = (http and http.request) or request or LPH_CRASH()

local response = request({
    Url = "http://localhost:3000/whitelist",
    Method = "POST",
    Body = HttpService:JSONEncode({
        whitelistkey = key
    }),
    Headers = {
        ["Content-Type"] = "application/json"
    }
})

if response.StatusCode == 200 then
    local body = HttpService:JSONDecode(response.Body)
    if body.valid then
        print("Whitelisted")
    else
        print("Not whitelisted")
        LPH_CRASH()
    end
else
    print("Server not responding")
    LPH_CRASH()
end
Do NOT send HWIDs manually ❌
Common mistake made by people is retreiving the HWID manually (usually via requesting an http bin) then sending the response value to the server for verification.
Why you shouldn’t do it:
- The server already sends the HWID of the client on every request | So there is no need to send it manually.
- Risk of manipulation | When you retreive the HWID manually, this can be easily manipulated by the client, which can lead to security issues like having multiple users using the same key.
LPH_CRASH vs while true do end
LPH_CRASH is a macro provided by Luraph, and is a much safer and more efficient way to exit the environment in case of an error or an unexpected response from the server.
- You can read more about it here
Testing our script
To test our script, we will have to run our local server and then execute the script.
node index.jsAfter running the server, you can execute the script in your executor, and you should see the output in the Roblox console (F9).
Conclusion
With this, we have successfully set up our script for our whitelist system.
In the next part of the guide, we will be adding security measures to our system to prevent whitelist spoofing & attacks. You can check it out here